How to Design Custom Packaging Online in 3D
Custom packaging used to mean emailing a printer, waiting on static PDF proofs, and hoping the finished print matched what you pictured. It doesn't have to work that way anymore. This guide shows you how to design custom packaging online: upload a logo, choose an eco-friendly material, and preview bags, cups, and wraps in 3D before you spend anything on production. Ecoally's editor exists so coffee shops, bakeries, restaurants, and small food brands can design their own packaging online without hiring an agency — and low minimums mean you can validate a design before committing to a large run.
Why Design Custom Packaging in 3D (and Who It's For)
Packaging mistakes get expensive at scale: a logo sized too small to read across a counter, colors that disappear on brown kraft, artwork that lands on a fold line or a side seam. A flat PDF proof hides most of these problems because it ignores how the product actually folds, wraps, and carries. A live 3D preview surfaces them while they still cost nothing to fix.
Here's what a 3D preview gets you:
- See print on the real shape. Handles, gussets, panel breaks, and cup taper all change how artwork reads. A rotating model shows the product the way a customer will hold it.
- Iterate in minutes, not days. Nudge logo scale, swap a background color, and see the result instantly instead of waiting for a revised proof.
- Get internal buy-in fast. Share a preview with a co-founder or store manager before committing budget.
- Order samples with confidence. Validate material and print quality once instead of burning through three rounds of guesswork.
This workflow was built for operators, not designers. That's what makes it practical packaging design for small business owners:
- Cafe owners branding cups, sleeves, and carryout bags
- Bakery teams testing box and bag layouts before a busy season
- Restaurant operators refreshing takeout packaging for delivery platforms
- Small food brands launching their first physical touchpoint without agency fees
If you're comparing suppliers, ask whether they offer a true 3D product preview or only flat 2D templates. The difference matters most for bags, boxes, and cups, where geometry decides whether a design works.
What You Can Customize
Options vary by product, but the editor generally lets you control:
- Size — pick from the available dimensions for each format
- Material — brown or white paper stocks, greaseproof and foil-lined papers, recyclable cup constructions
- Print color — match hex values from your brand guide, from a one-color logo stamp to fuller coverage
- Logo and artwork placement — move, scale, and rotate graphics on each printable panel
- Finishing details — handle styles, closures, and lid pairings where the product supports them
How that plays out depends on the product type:
Paper bags
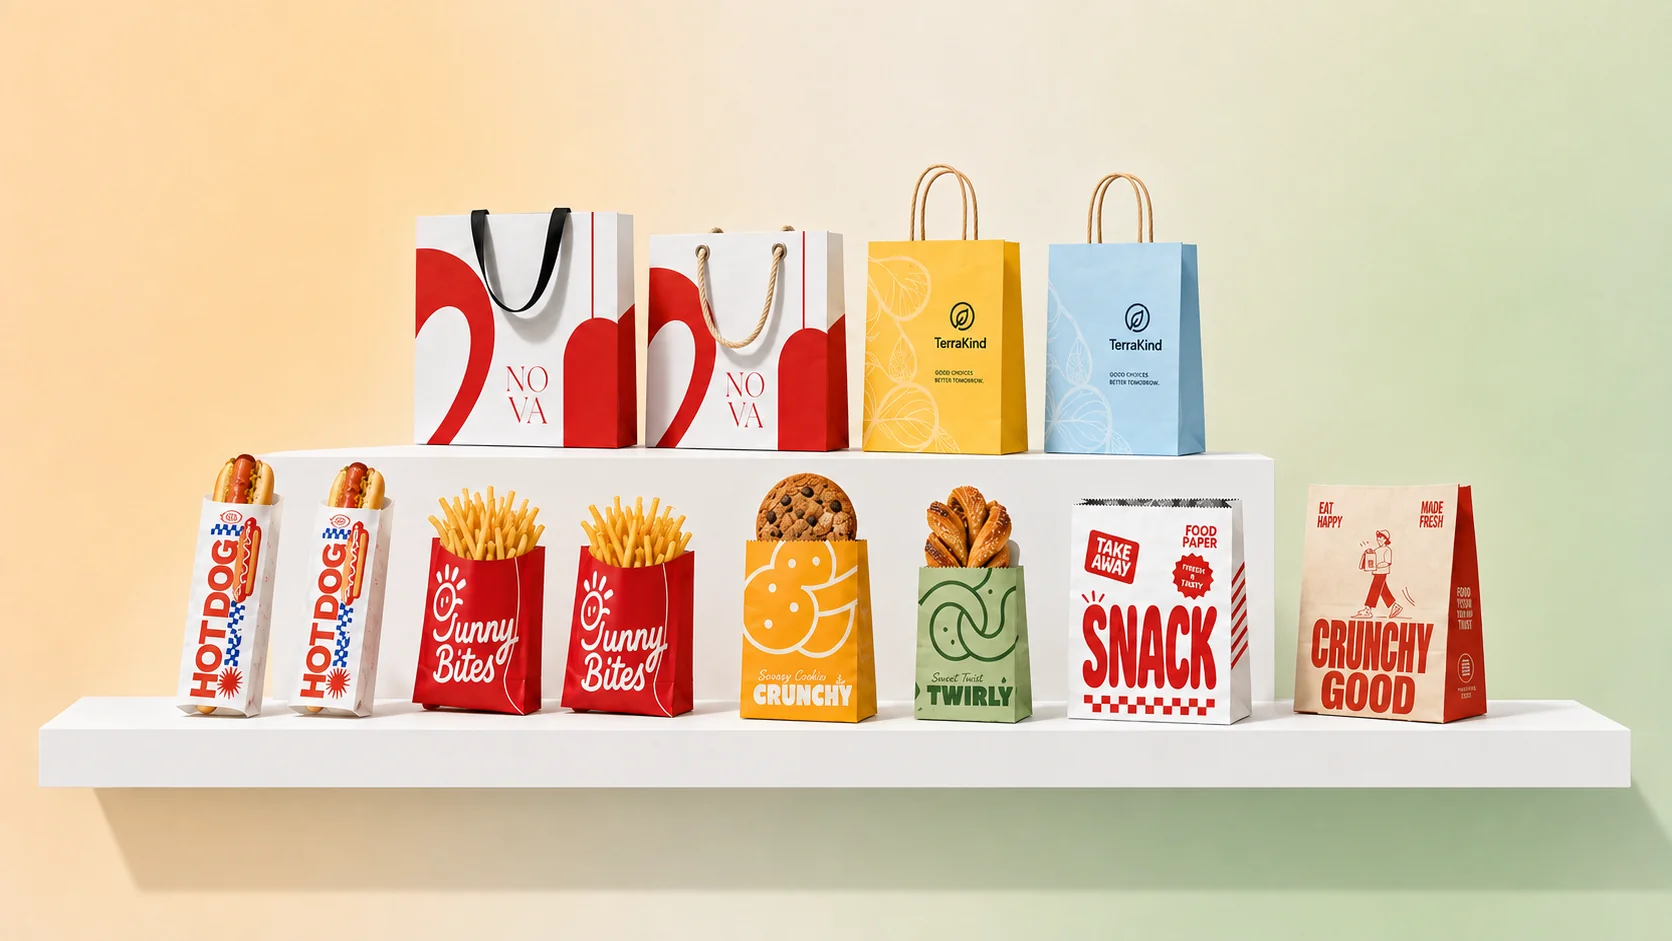
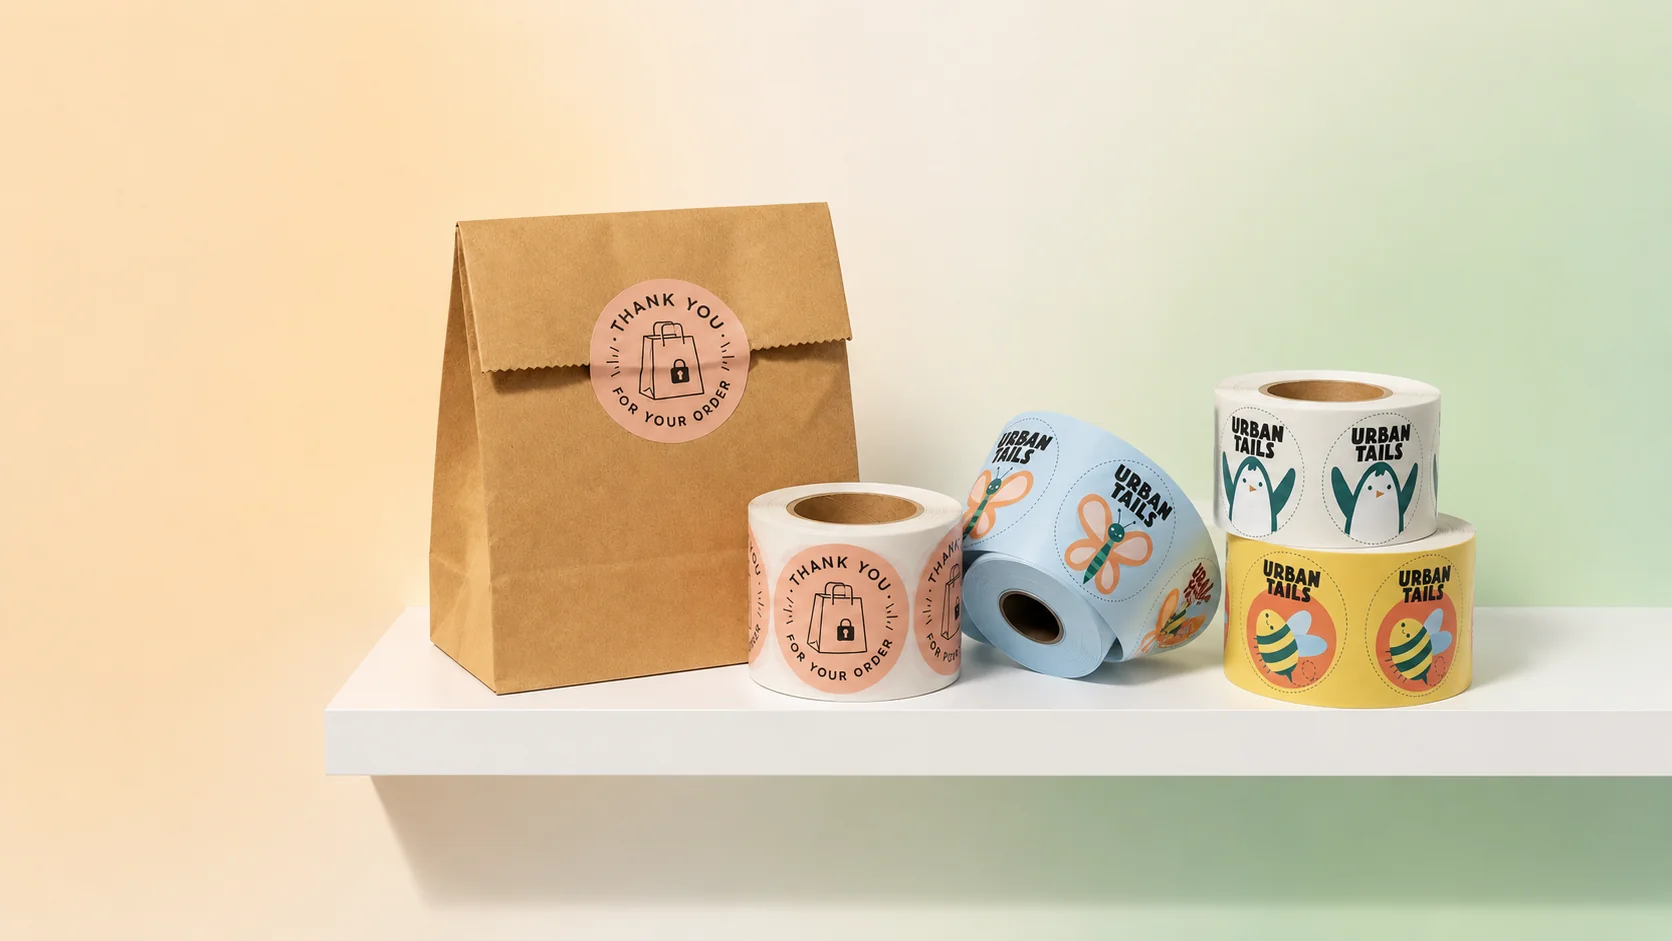
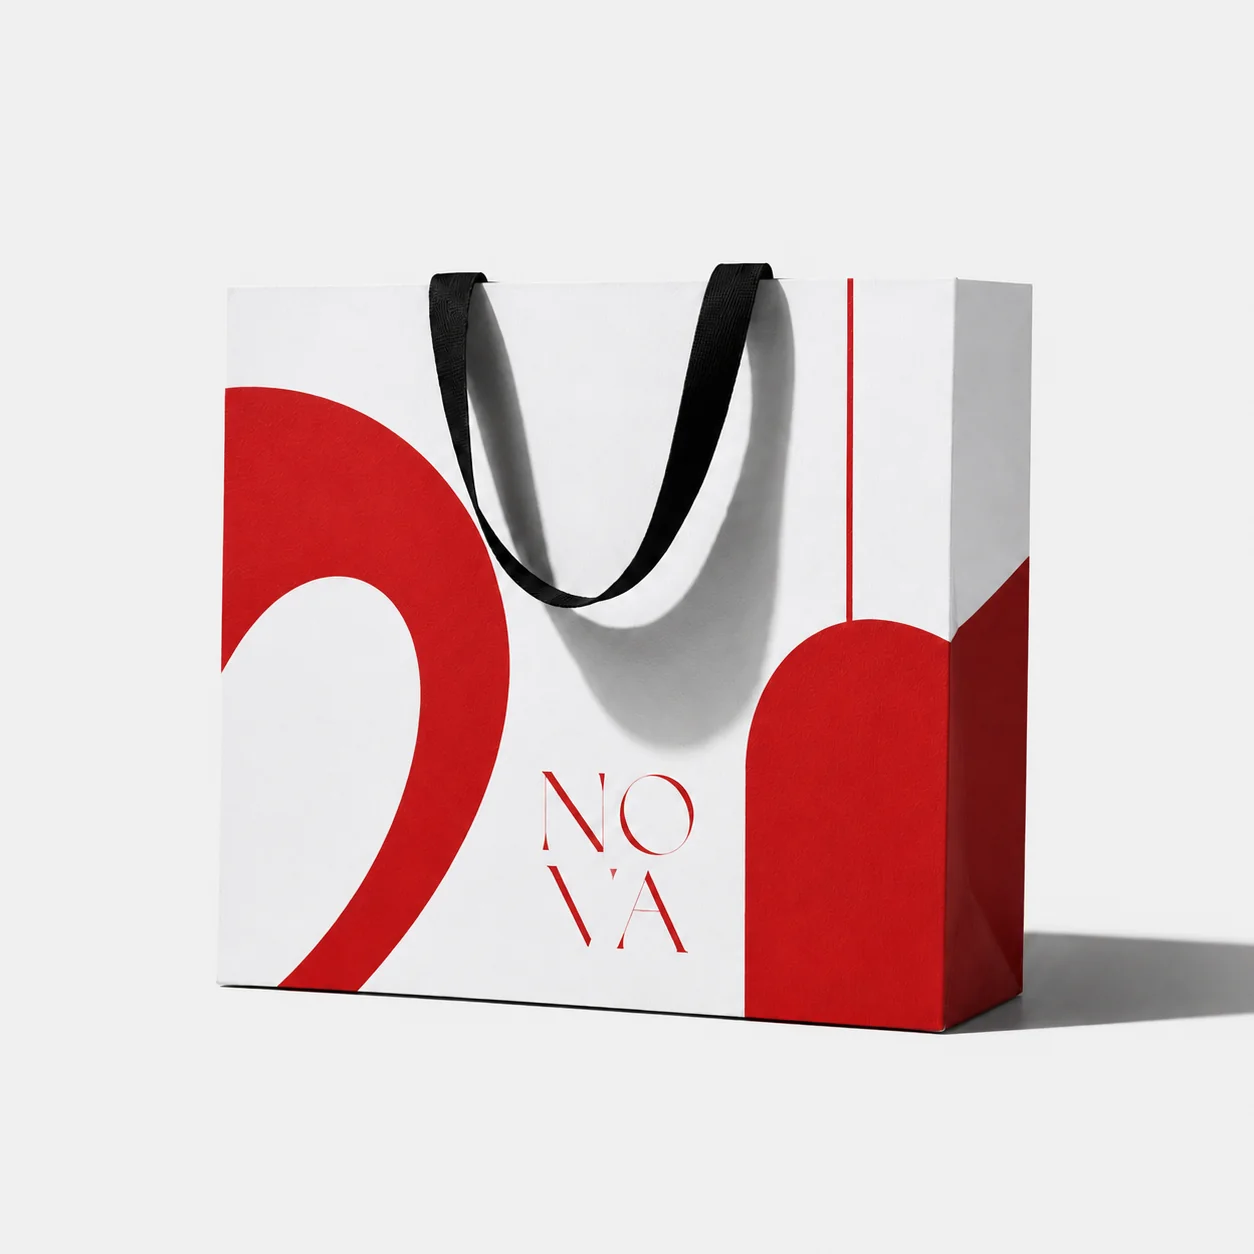
Custom paper bags have the most geometry to design around: front and back panels, side gussets, a bottom, and handles. The front panel is your hero space; gussets work well for a repeated mark, a tagline, or a solid brand color. Brown kraft reads warm and natural but mutes bright colors, while white board reproduces color more faithfully.
Cups
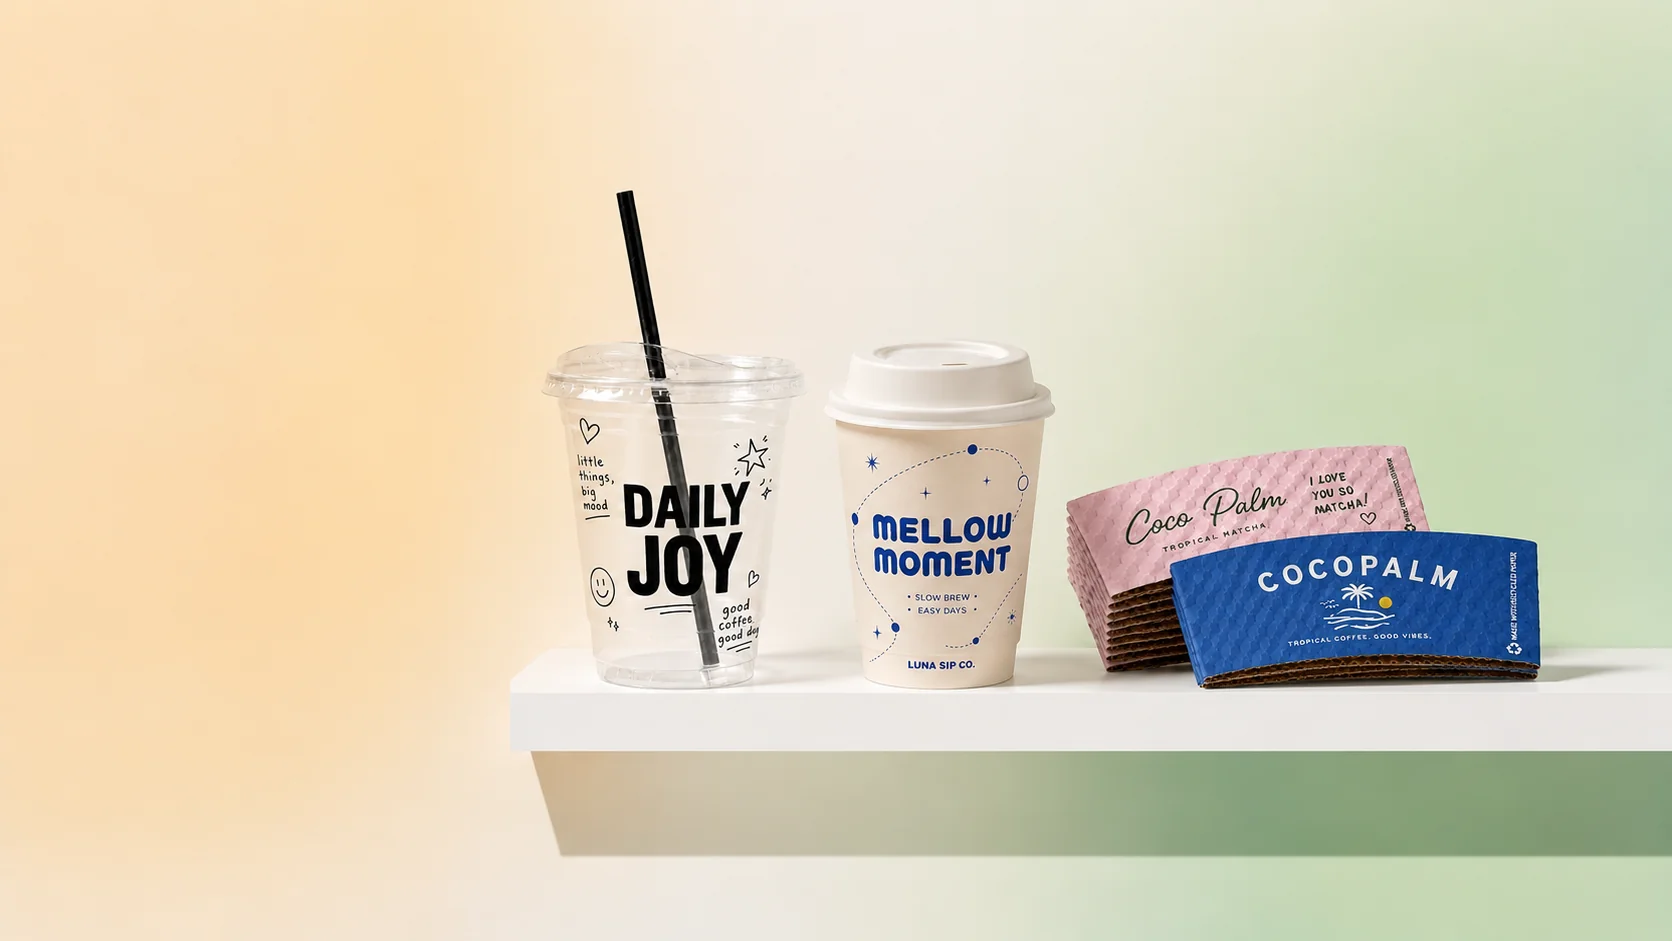
Recyclable paper cups with lids print as a single wraparound panel, so your design needs to work from every angle — there is no "back" once the cup is in a customer's hand. Keep one clear focal point, and use the 3D preview to check how the artwork resolves around the cup's taper.
Wrapping paper
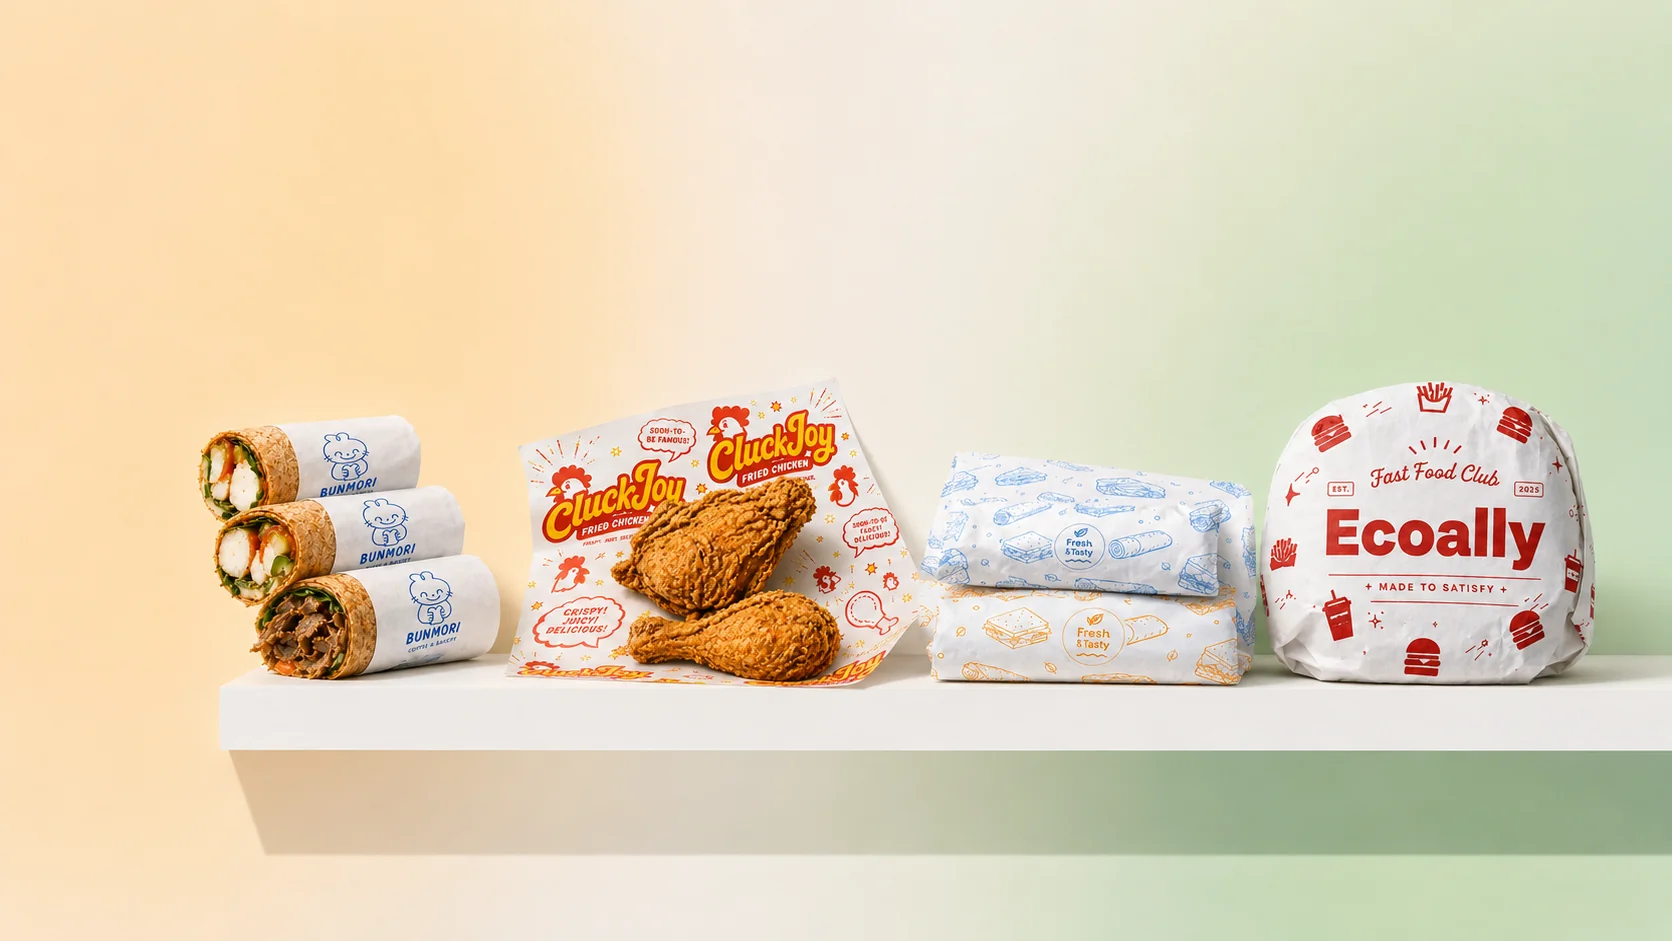
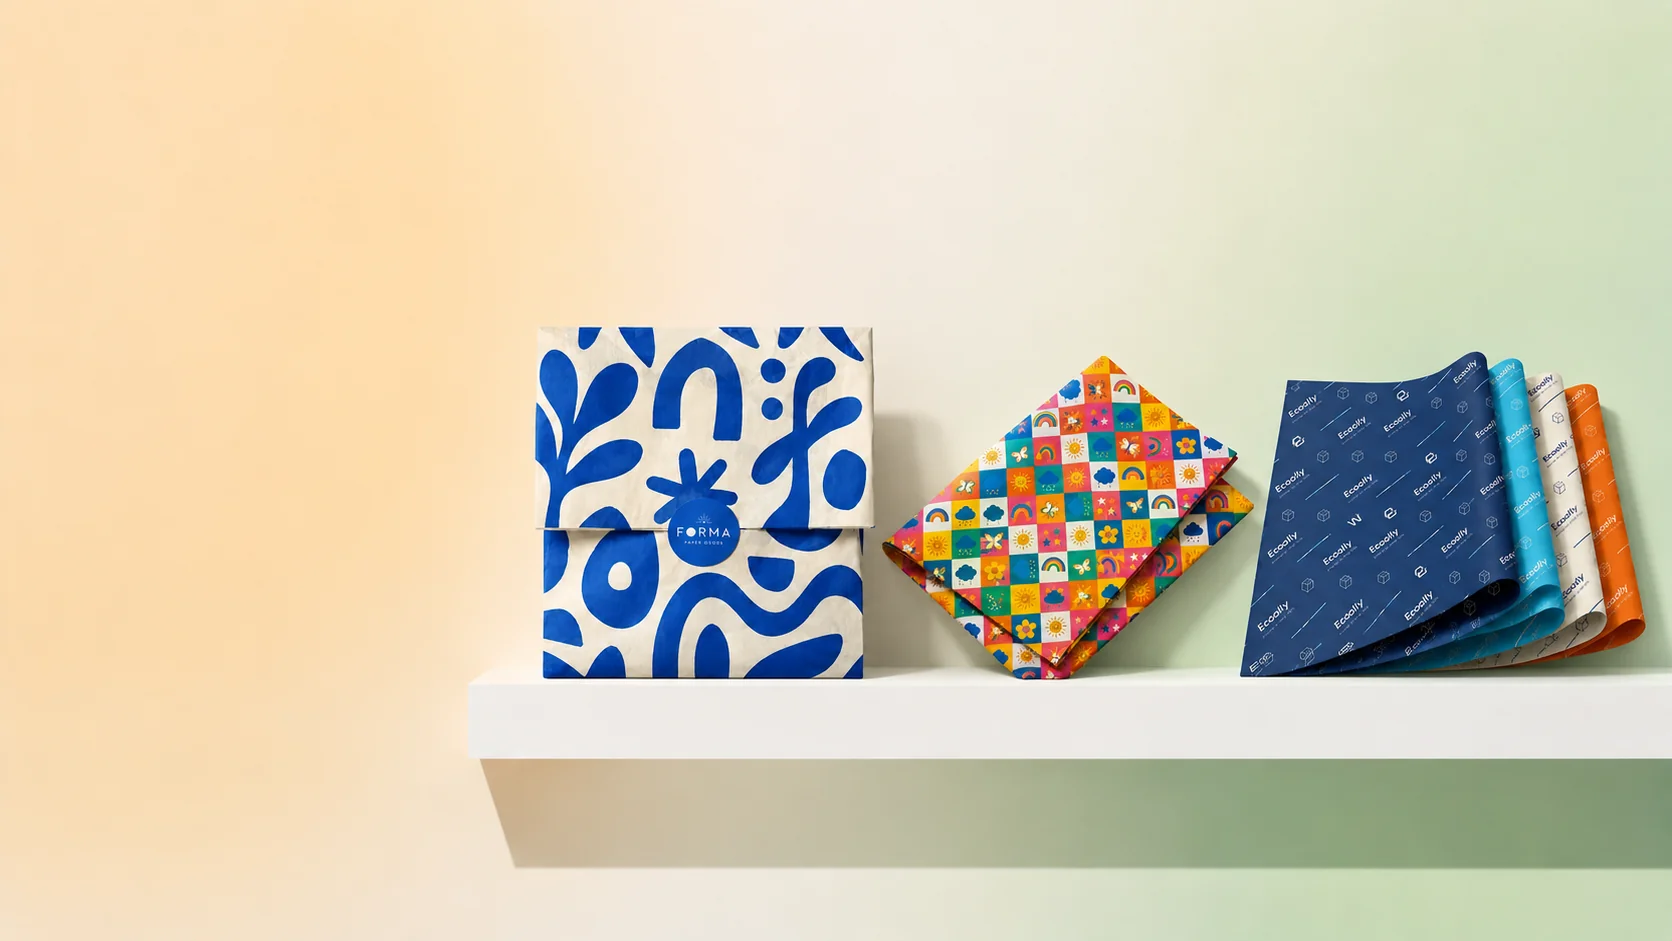
Custom food wrapping paper is a flat sheet, but it never stays flat — it gets folded around sandwiches, lines trays, and wraps pastries. Repeating patterns (a step-and-repeat of your logo) survive folding far better than one large centered graphic, which can end up creased through the middle.
Step-by-Step: Design Custom Packaging in the Ecoally Editor
Here's the full workflow, from picking a product to checkout.
Step 1 — Choose your product
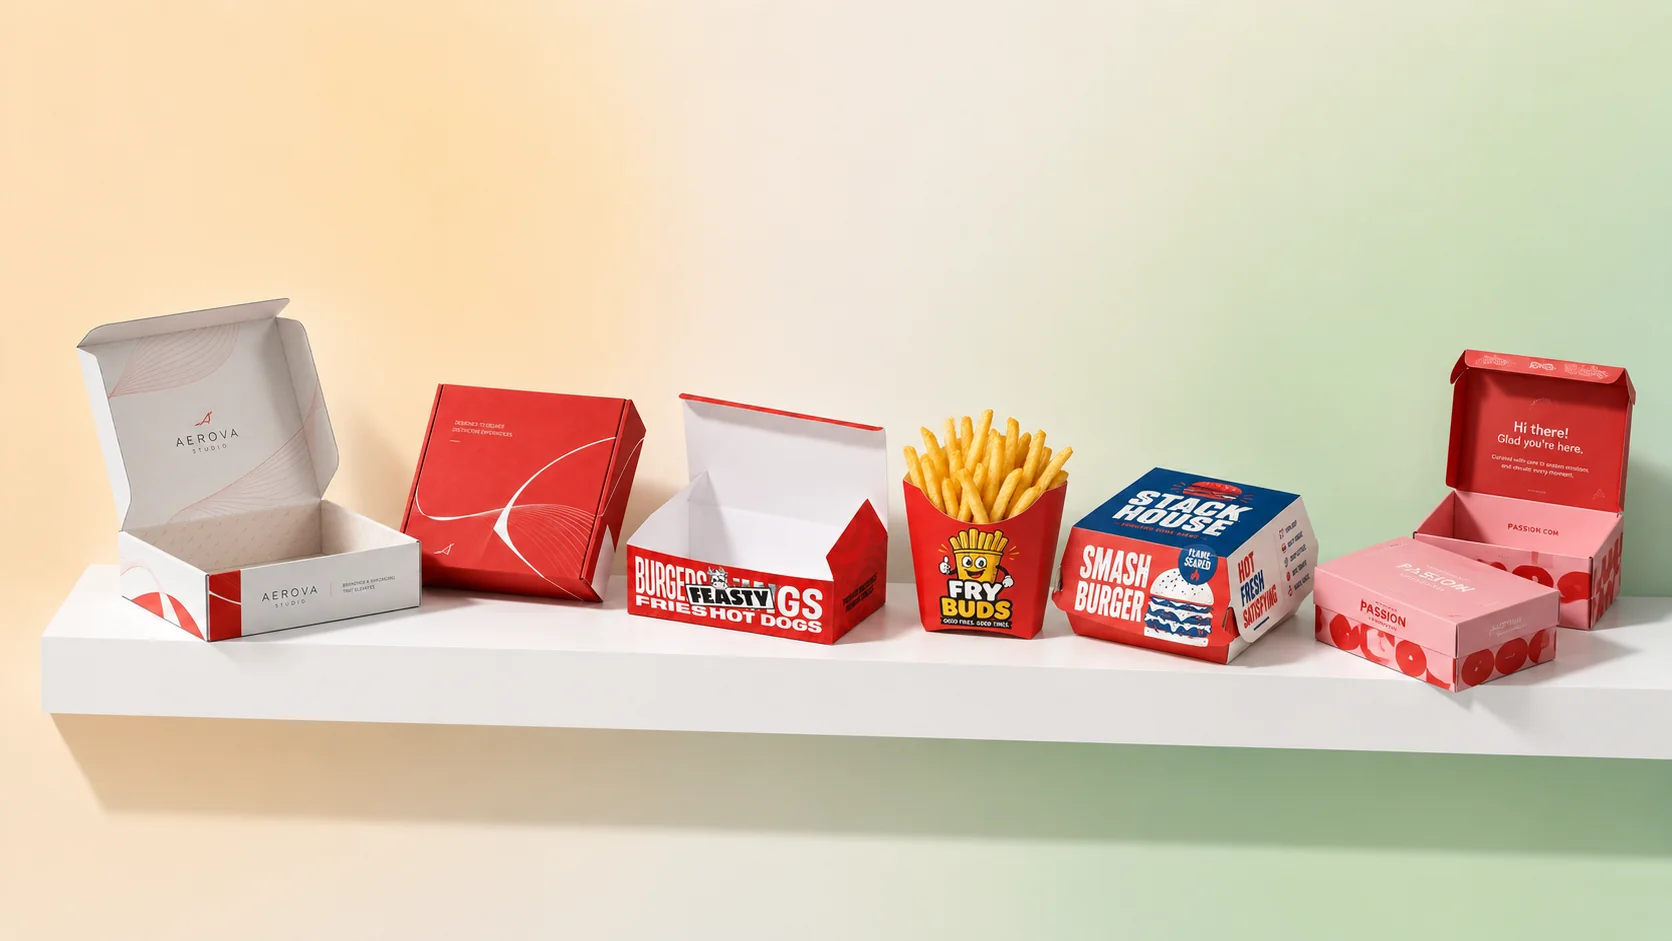
Browse the full product catalog and pick the format that matches your use case: carryout bags for a cafe, boxes for a bakery, wrapping paper for a sandwich shop. Each product page lists available sizes, materials, and minimum quantities. If you're not sure where to start, choose the one high-visibility item customers carry out the door.
Step 2 — Open the 3D editor
Click Customize or Design in 3D on the product page. The editor loads an interactive model you can rotate, zoom, and inspect from any angle — no software to install, no design experience required.
Step 3 — Upload your logo and set brand colors
Upload your logo file and set brand colors with hex codes from your style guide. A vector file or high-resolution PNG with a transparent background gives the cleanest result (more on files below).
Step 4 — Place and scale your artwork
Position the logo on the primary print panel and add any supporting artwork — patterns, secondary marks, a website or social handle. Keep important elements away from seams, handles, and fold lines; the 3D view makes those danger zones easy to spot.
Step 5 — Review every panel in 3D
Rotate the model and check the front, back, sides, bottom, and handles. Packaging rarely fails in the center of a panel — it fails at folds and edges. Sixty seconds spent here prevents most first-order regrets.
Step 6 — Choose your quantity
Select a quantity tier that matches your plan: a small run to test, a larger one for a launch or season. Because minimums are low, you don't have to commit to a warehouse-filling order to get custom print.
Step 7 — Order samples or place your order
Request a sample to check material and print in person, or go straight to checkout if you're confident. Your design saves to your account, so reordering a winning SKU later takes one click.
Artwork Requirements: Logos, Files, and Print Specs
You don't need to be a prepress expert, but a few fundamentals will save you a revision cycle.
File formats
Vector formats — SVG, AI, EPS, or a vector PDF — are ideal because they scale to any size without losing sharpness. If you only have raster files, use a high-resolution PNG with a transparent background. Avoid low-resolution JPEGs and screenshots: compression artifacts and white boxes around logos show up clearly in print.
Resolution
For raster artwork, the standard print benchmark is around 300 DPI at the final printed size. A logo that looks fine on your website at 200 pixels wide will print soft and fuzzy when enlarged onto a bag panel. When in doubt, ask whoever created your logo for the original vector file — most designers keep one.
Bleed and safe zones
Two prepress rules apply to almost all printed packaging. First, artwork that should run to the edge needs bleed — the design extends slightly past the trim line (commonly about 1/8 inch) so cutting tolerances never leave a white sliver. Second, keep text and logos inside a safe zone away from trim edges, fold lines, and seams. The 3D preview helps here because you can see exactly where panels fold.
Screen vs. print color
Screens display color as backlit RGB; presses print ink on paper. Bright, saturated screen colors — neon greens, electric blues — shift when printed, and any color printed on brown kraft will look warmer and more muted than on white stock. Treat the on-screen preview as a close guide, not a contract, and use a physical sample to confirm color-critical work.
From 3D Preview to Samples to Production
The smart sequence for a first order is preview, then sample, then scale.
A 3D preview catches layout and placement problems. A physical sample catches everything else: how the paper feels in hand, how your ink color lands on the actual stock, how the bag holds weight or the cup handles heat. For a design you'll print thousands of times over the coming year, that check is cheap insurance.
When the sample arrives, evaluate it like a customer would:
- Does the logo read from across the room?
- Do the colors match your brand closely enough in daylight?
- Does the material perform — no grease bleed, no soggy seams, handles that hold?
If something's off, adjust the design in the editor and sample again — that's the point of sampling before scaling. If it passes, move to a production quantity. Because Ecoally is built around low minimums, you can start with a conservative first run, watch how customers respond, and reorder — rather than gambling on the huge initial commitment traditional suppliers often demand. Our guide to low MOQ packaging for small businesses covers how to size that first order.
Plan your calendar around production, too. Samples turn around faster than full production runs, and custom-printed orders take longer than off-the-shelf stock — so start designing well ahead of a launch, season, or menu change.
Design Tips for Food Packaging That Performs
The editor handles the mechanics; these food packaging design ideas handle the strategy. Start with material and match it to what you serve: greasy pastries need grease-resistant paper, cold drinks need cups that stand up to condensation, and if sustainability is part of your pitch, the material claim should hold up to scrutiny. Our guide to biodegradable materials breaks down kraft, PLA, bagasse, and when each makes sense.
Then design for your vertical:
Coffee shops
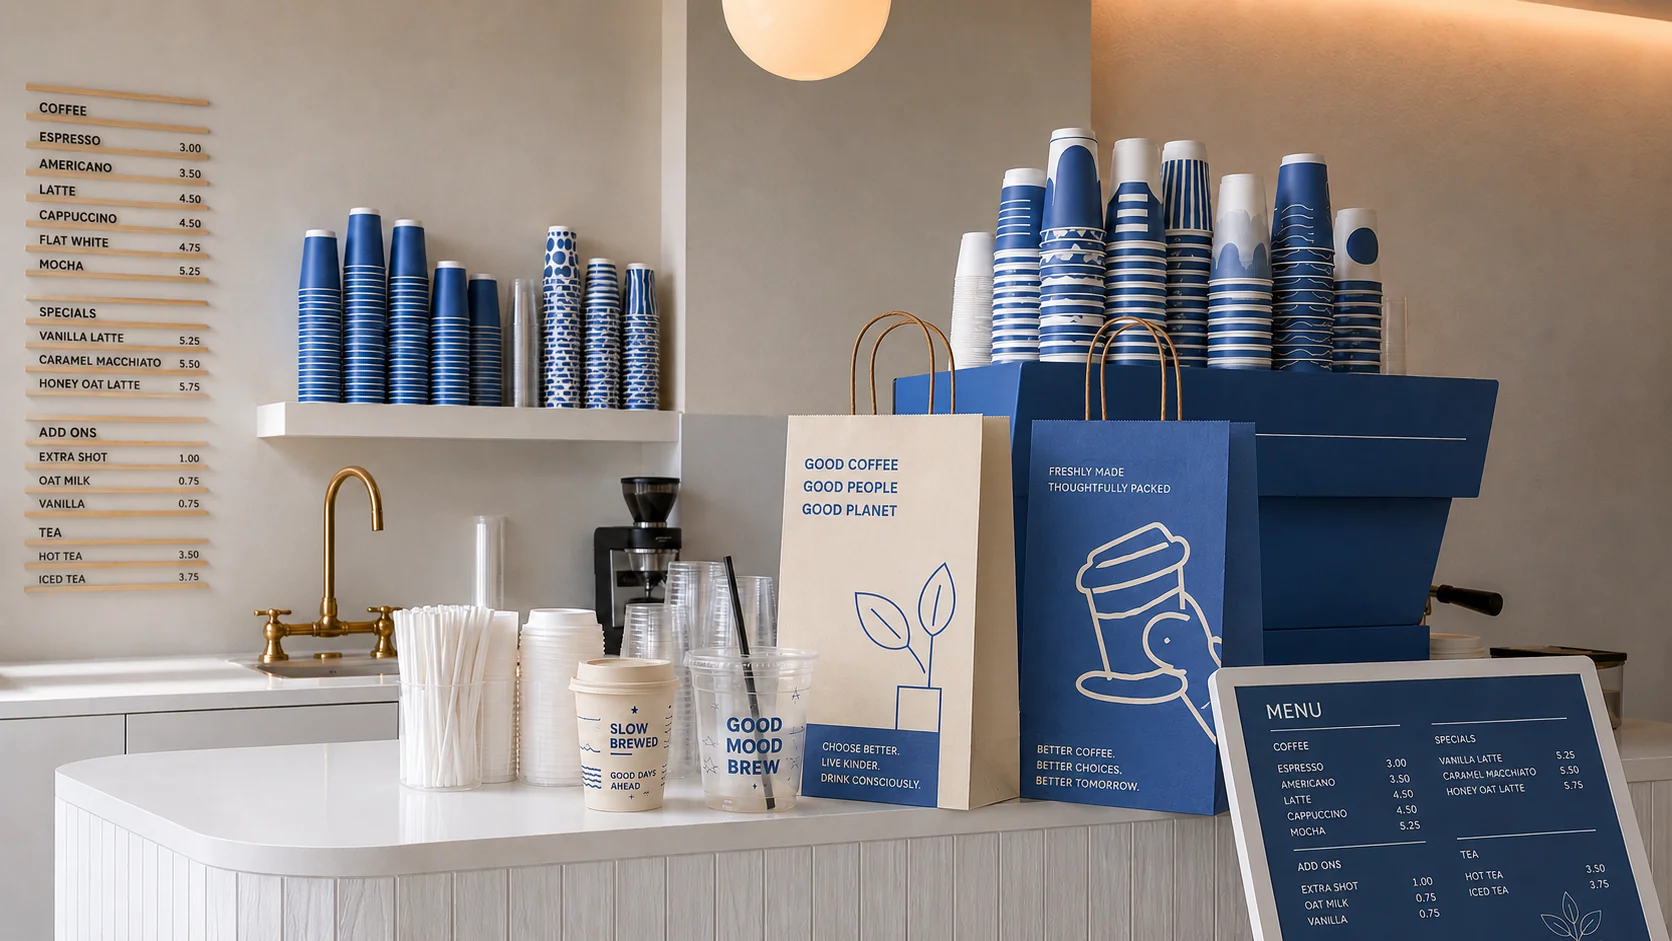
Your cup is a walking billboard — it gets carried down the street and photographed on desks. Keep the logo bold and centered at "hand height," and think of cup, sleeve, and bag as a matched set rather than three separate designs. Our coffee shop packaging guide covers the full lineup.
Bakeries
Bakery packaging sells with restraint: let the product show and keep artwork simple. A kraft bag with a clean one-color logo often outperforms a busy full-coverage design, and grease resistance matters more than any visual choice — butter stains ruin beautiful printing.
Restaurants and takeout
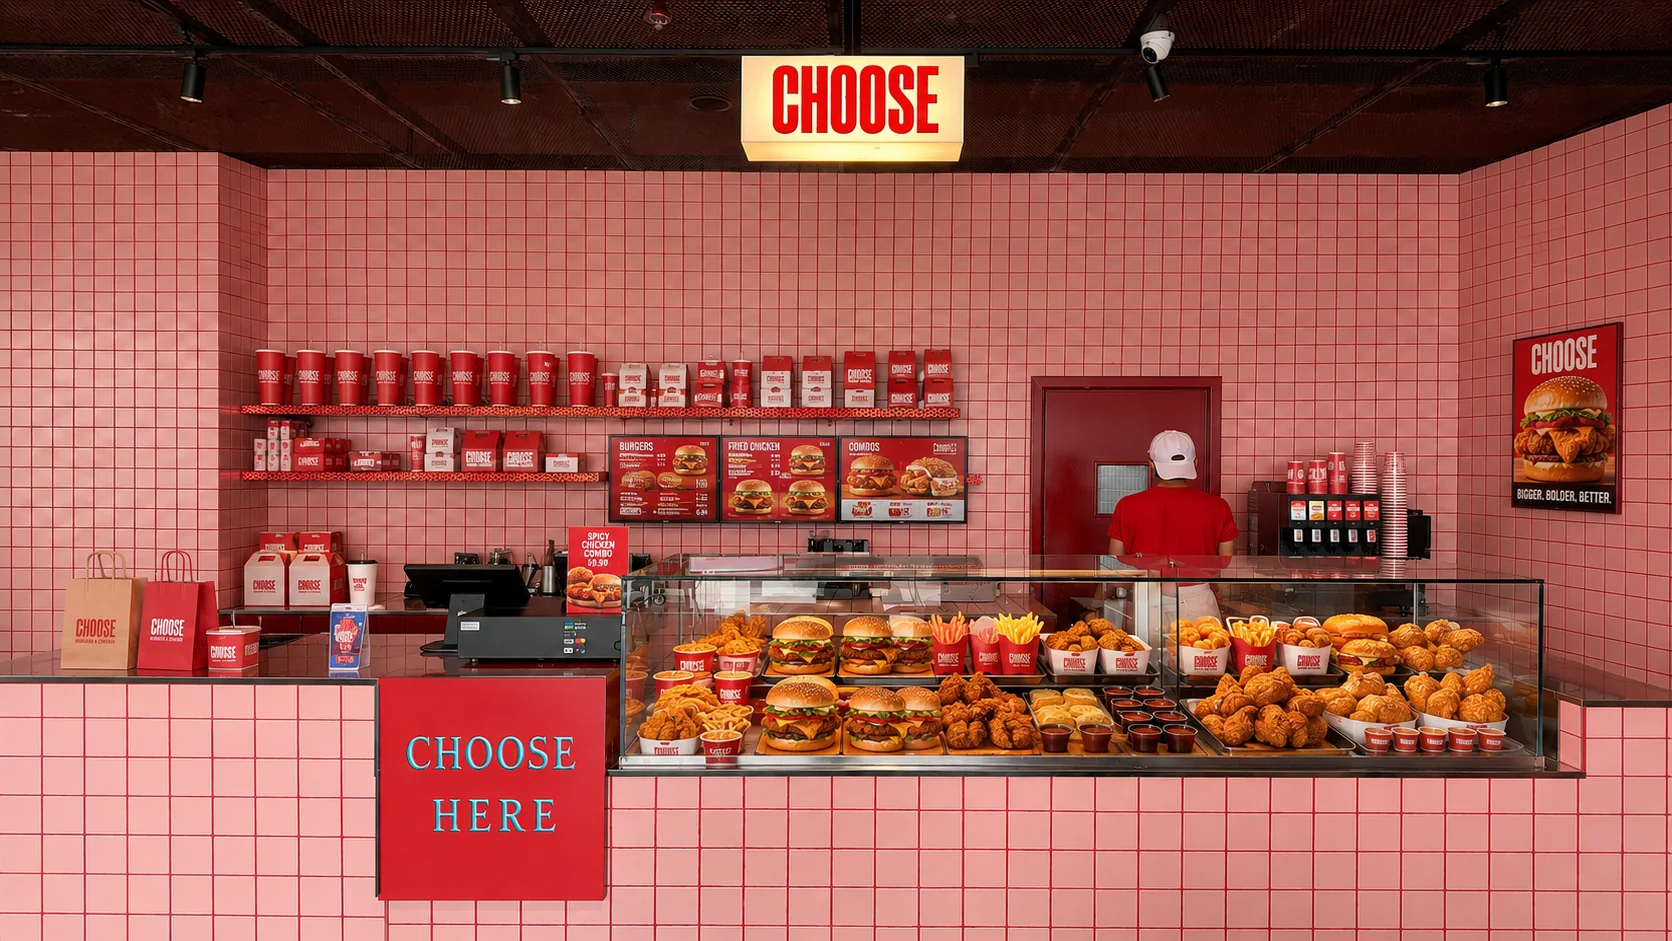
Delivery packaging is judged twice: by the courier's handling and by the customer at the table. Prioritize structure — closures that stay closed, bags that don't tear — then brand the surfaces customers touch first, like the bag front and any tissue or wrap inside. The restaurant takeout packaging guide goes deeper on delivery-proof design.
Two habits pay off in every vertical: design for the photo, because takeout packaging that looks good on Instagram is free marketing; and keep packaging consistent with your menu, website, and social feeds so your brand feels like one thing everywhere a customer meets it.
Frequently Asked Questions
Is the 3D editor free to use?
Yes — designing and previewing in the editor costs nothing. You can upload artwork, try different products and materials, and rotate the 3D model as many times as you like; you only pay when you order samples or a production run.
Can I order a sample before a full production run?
Yes, and you should. A sample confirms material feel, print quality, and true color on the actual stock — things no screen can fully show. Most brands sample once, make small adjustments, and then scale up to a production quantity.
What file types work best for my logo?
Vector files (SVG, AI, EPS, or vector PDF) are best because they stay sharp at any print size. A high-resolution PNG with a transparent background is a solid second choice. Avoid low-resolution JPEGs, which print blurry and often carry a white box around the logo.
How accurate are the 3D preview colors?
The preview is a close guide for layout, scale, and placement, but screens show backlit RGB while presses print ink on paper, so some color shift is normal — especially on brown kraft, which warms and mutes every color printed on it. If an exact color match matters to your brand, order a sample before the full run.
Do I need professional design software?
No. The editor runs in your browser and is built for business owners, not designers. If you have a logo file and your brand colors, you can produce a print-ready design without Illustrator or an agency.
Can I change my design after saving it?
You can revise a saved design in the editor any time before checkout. Once an order moves into production, changes may no longer be possible depending on status, so give every panel a final 3D review before you confirm.
Designing custom packaging shouldn't take a six-week proofing cycle and a leap of faith. Pick a product, upload your logo, walk around it in 3D, and let a sample settle any doubts — then order the quantity that fits the business you have today, not the one a traditional printer's minimums demand.